Starting in release X.X.X.2, BindTuning themes are packaged including demo content which can be directly imported into your Kentico website.
Your BindTuning theme must be installed and applied to the site before uploading the demo content.
1# Download the .zip file
- Access your account at bindtuning.com;
- Open the My Downloads tab;
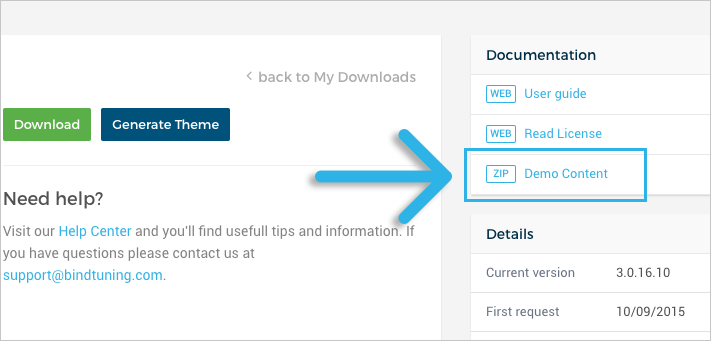
- Mouse hover your theme and click on View theme;
- Under documentation you will find the demo content .zip file.
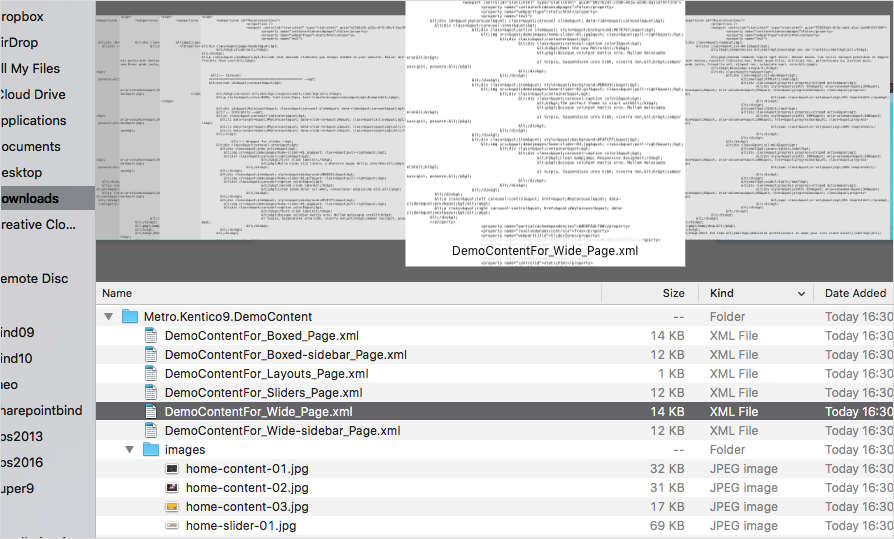
2# Unzip the file
Before uploading the demo content into your website you will need to unzip the file. The file name is theme.Kentico9.DemoContent.zip.
After unzipping the file, open the demo content file(.txt) that you want to add and copy all the content.
3# Add the demo content
If you want to copy the content to the Main Content Zone, make sure to follow these steps:
- Log in to your Kentico website as an Admin;
-
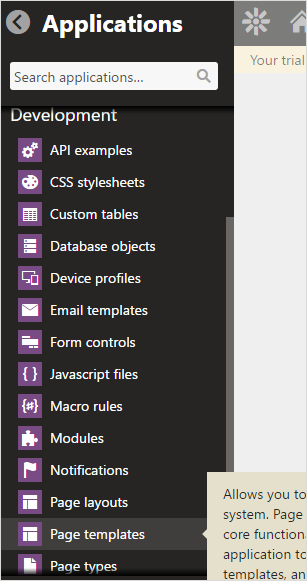
Open your Applications list, click on Development and then on Page Templates;
-
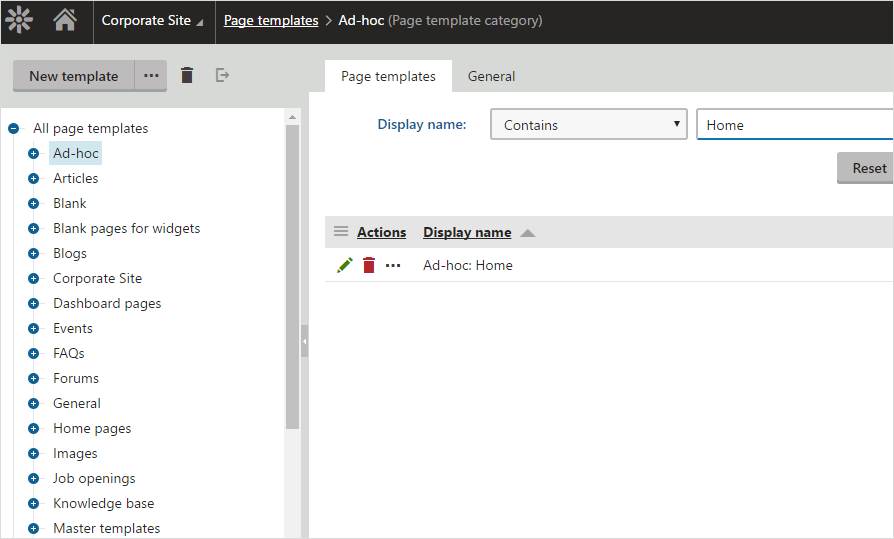
On the Templates list, click on the Ad-hoc folder;
-
On the Display name, select the rule Contains and on the box next to it type the page of your website where you want to add the demo content. Now click on Search;
-
Click on the Edit icon;
-
Switch to the Web Parts tab;
-
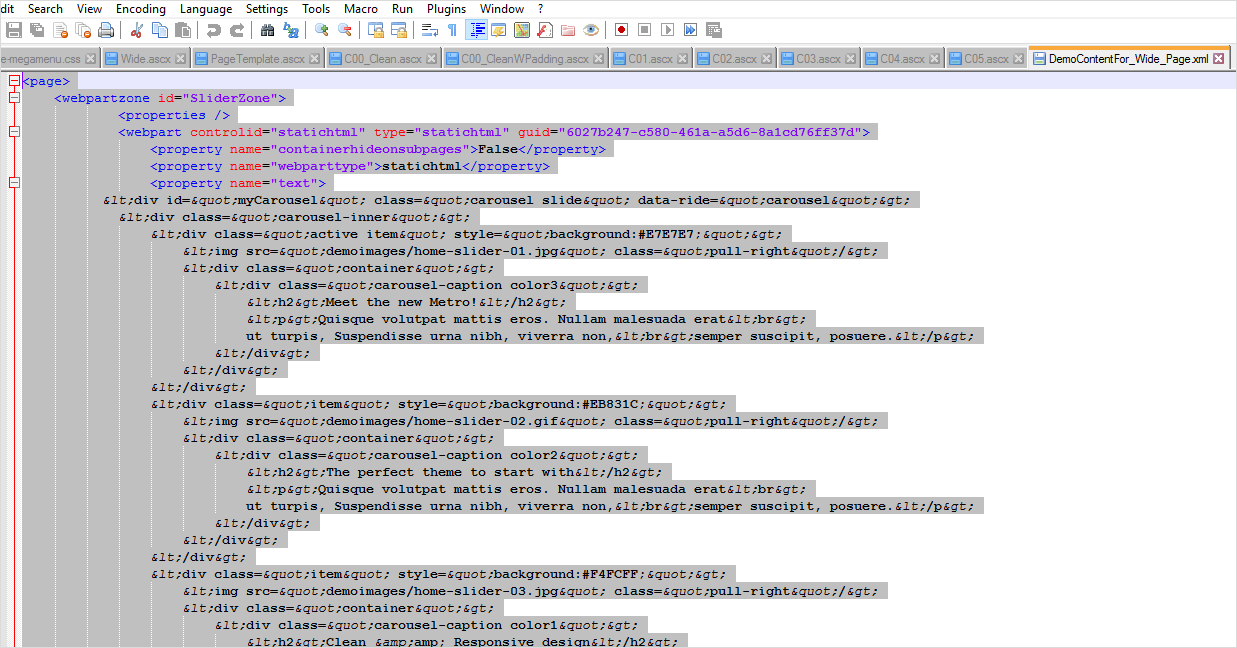
With Notepad++, open the .xml file of the master you are using on the page and copy the entire code. The name should be something like DemoContentFor_nameofthemaster_Page.xml. You will find this file inside your theme's demo content .zip file;
-
Paste the code in the Web Part configuration box. The code should be placed between the
tags; 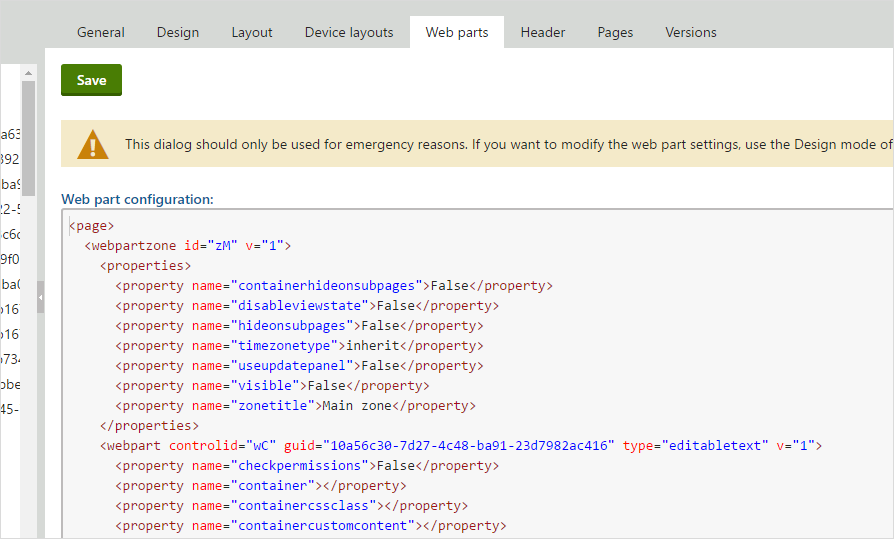
-
Click Save.
Demo content added! ✅