1# Add the CSS Stylesheets
1# UPLOAD THE CSS STYLESHEETS
- Log in to your Kentico website as an Admin;
-
On your Applications dashboard, click on CSS stylesheets;

-
Click on New CSS stylesheet
-
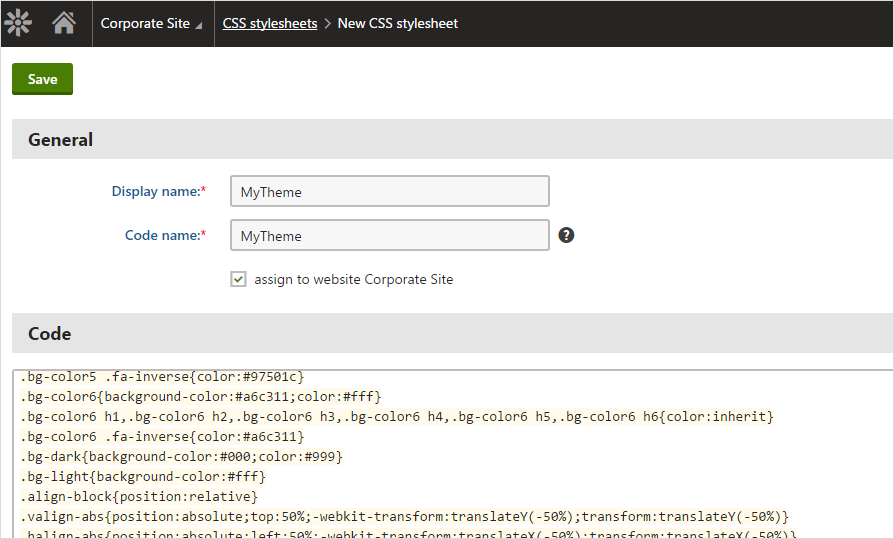
Add the template names:
-
On Display name, add your theme name.
-
On Code name, add your theme name.
-
On Code, paste the code from the yourthemename.uncompressed.css file. You can find this file by opening your theme's package.
-
-
You can leave the option "assign to website..." checked;
-
Click Save.
Since Kentico loads all the CSS files from your theme's package even after adding your theme's CSS stylesheets to your website, to prevent any conflicts, you will need to remove the yourthemename.css file and yourthemename.uncompressed.css file, from your theme's package.
Since you left the option "assign to website..." checked, the CSS is already available for the website you have chosen. If you need to make the CSS available for other websites, with the CSS stylesheet you just created opened, go to the Sites tab and click on Add sites.
1# APPLY THE CSS STYLESHEETS TO YOUR WEBSITE
Now let's apply the CSS stylesheet you created in step 1# Upload the CSS Stylesheets.
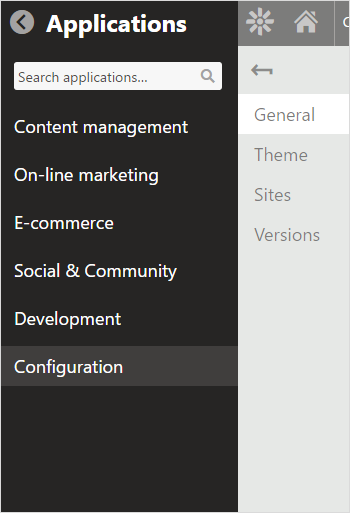
- Open the Applications list;
-
Click on Configuration and then click on Sites;
-
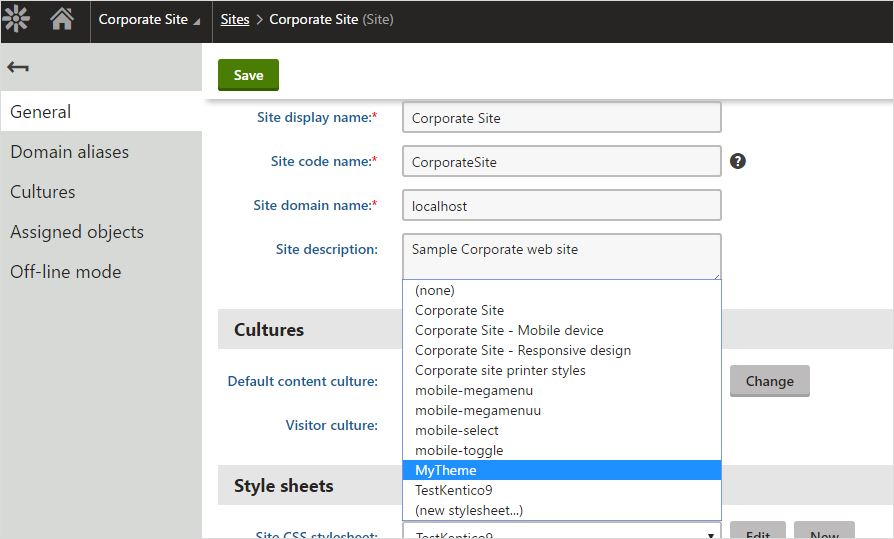
On the website you want to apply the CSS stylesheet, click on the Edit icon;
-
In the General tab, under the Style sheets section, in the Site CSS stylesheet, select the CSS stylesheet you created during step 1#;
-
Click Save;
CSS Stylesheet added! ✅
2# Add the BindMENU
The BindMENU's are menus included in your theme's package.
To add a BindMENU you will need to add the code from different CSS files. You can find these files, inside your theme's package in your CSS folder.
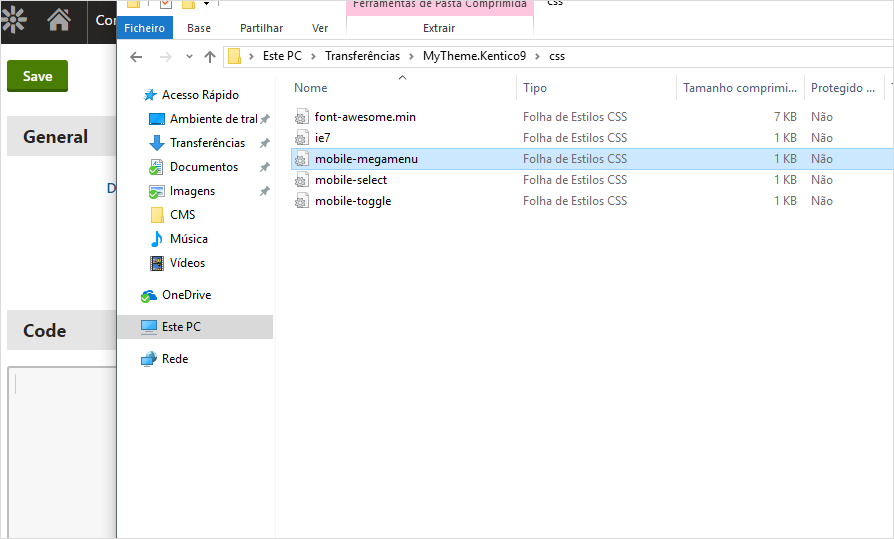
We will be installing the mobile-megamenu.css file, the mobile-select.css file, and the mobile-toggle.css file.
For themes with vertical menus, the menu might not appear if the page has no content. Try adding some content before proceeding.
- Go back to your Applications dashboard;
- Click on CSS stylesheets;
- Click on New CSS stylesheet;
-
On the General and the Code section add:
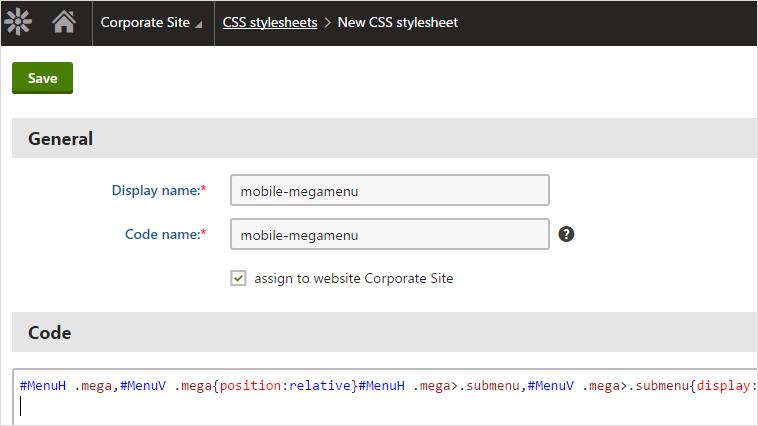
- On Display name, add the name "mobile-megamenu".
- On Code name, add the name "mobile-megamenu".
- On Code, paste the code from the mobile-megamenu.css. You can find this file by opening your theme's package and then the css folder.
-
You can leave the option "assign to website..." checked;
- Click Save.
Repeat the same steps for also the **mobile-select.css** file and the **mobile-toggle.css** file.
Done adding the CSS? You will now need to remove the CSS files you just add, the mobile-megamenu.css file, the mobile-select.css file and the mobile-toggle.css, from the css folder, from inside your theme's package, since Kentico loads all css in that folder, eventually causing a few conflicts.
BindMENU added! ✅
3# Add the Master Page(s) and Page Template
In your theme's package you will find different .ascx files, each related to a certain type of Master Page that is included in your theme. You will need to add these Master Pages in order to use them on your website. Note that you can install only the ones you want to use.
You will also find a .ascx file for the Page Template. First thing on the list is to create a folder/category on the Templates list for your theme's master pages and page template. Let's do this!
1# CREATE A FOLDER/CATEGORY FOR THE THEME
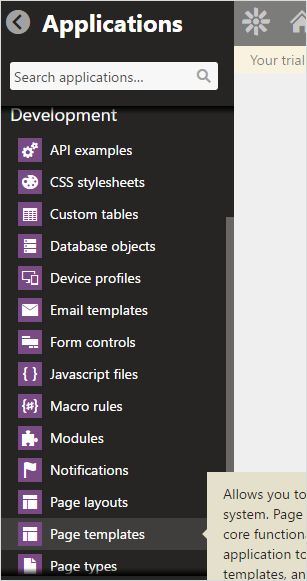
- Open the Applications list;
-
Click on Development and then click on Page Templates;
-
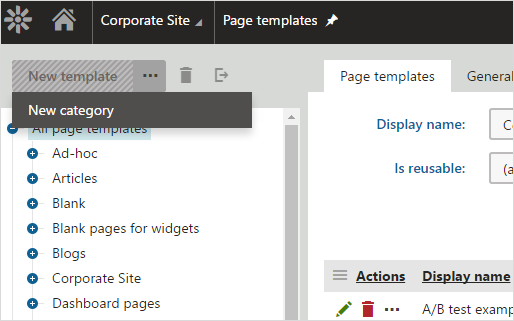
On the templates list, select the folder All page templates;
-
Now click on the three dots menu, next to New template, and then click on New category;
-
Let's create the folder/category:
- On Category display name, add your theme's name.
-
On Category name, add your theme's name.
You can leave Category image path empty.
-
Click Save.
2# ADD THE MASTER PAGE (s)
You can check the name of each of the master pages included in your theme by visiting your theme's live preview at bindtuning.com.
Kentico only allows the use of one master page, so you will have to choose which .asx you will want to use on your website. You can choose between different master pages, Home.ascx, Wide-sidebar.ascx - it depends on the theme you have downloaded.
We will not be using the .ascx files that start with **C0***, since they are for adding the web part containers.
- On the templates list, select the newly created folder/category;
- Now click on New template;
-
Let's create the master page. We will be adding the Wide master page, included in our example theme package:
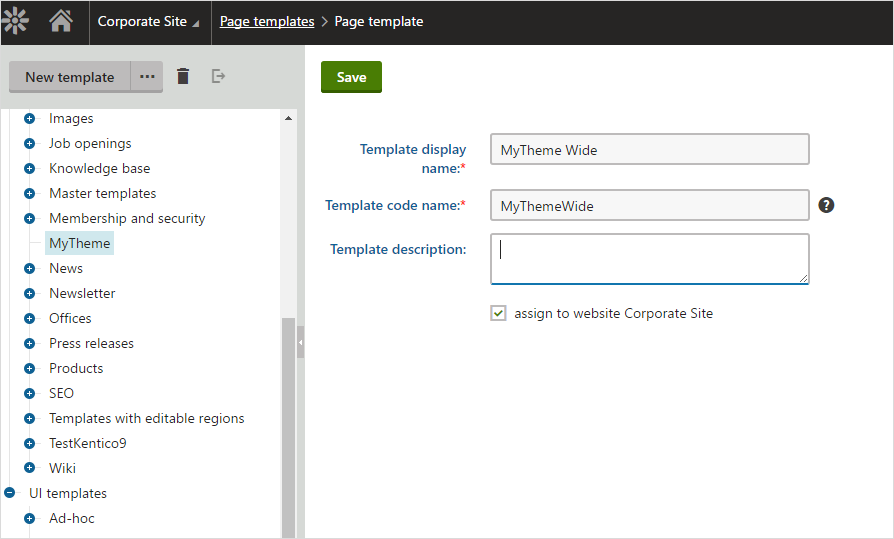
- On Template display name, add the name "yourthemename masterpagename". Example: MyTheme Wide
- On Template code name, add the name "yourthemenamemasterpagename". Don't leave any spaces between your theme name and the name of the master page. Example: MyThemeWide
-
Click Save;
- On the templates list, select the template you just created.
-
On the General tab:
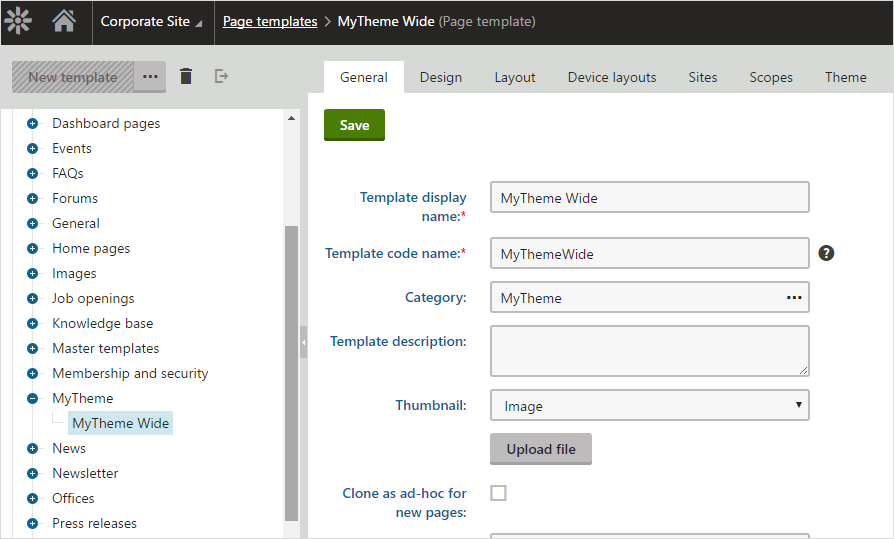
- Make sure the Template type is set to Portal page;
- Check the Master template option;
-
Click Save.
- Now switch to the Layout tab;
- Select the Use custom layout option;
-
Open the .ascx file of the master page you are creating with Notepad++. You can find it by opening your theme's package;
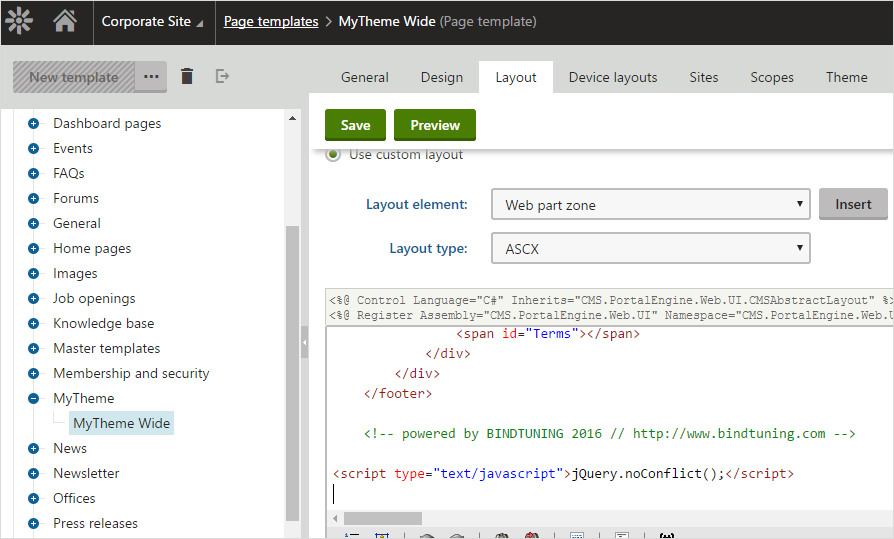
-
Now copy the entire code and paste it on the code area;
- Click Save.
Master Page added! ✅
3# ADD THE PAGE TEMPLATE
- On the list, select again your theme's folder/category;
-
Now click on New template;
-
Select the folder All page templates on the list;
-
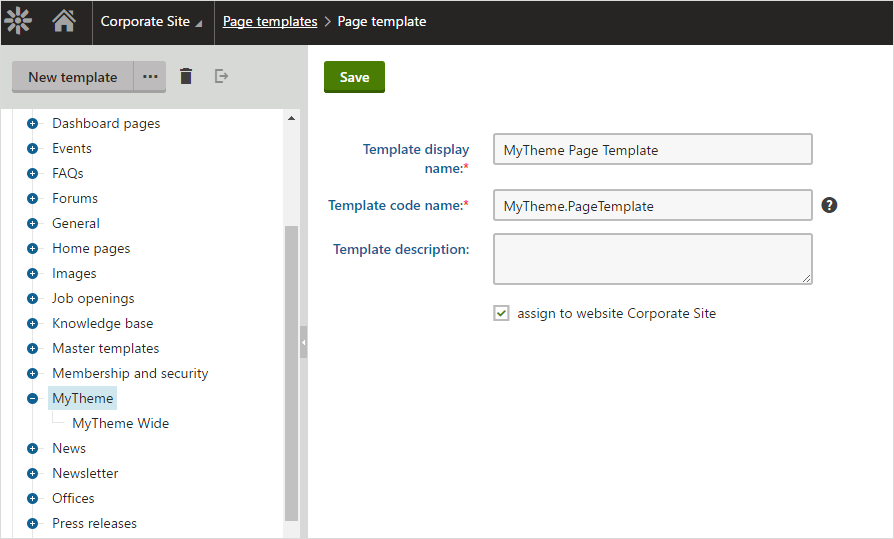
Let's create the page template:
- On Template display name, add the name "yourthemename Page Template". Example: MyTheme Page Template.
- On Template code name, add the name "yourthemename.PageTemplate. Example: MyTheme.PageTemplate.
-
Click Save;
-
With your newly created template selected on the list, on the General tab:
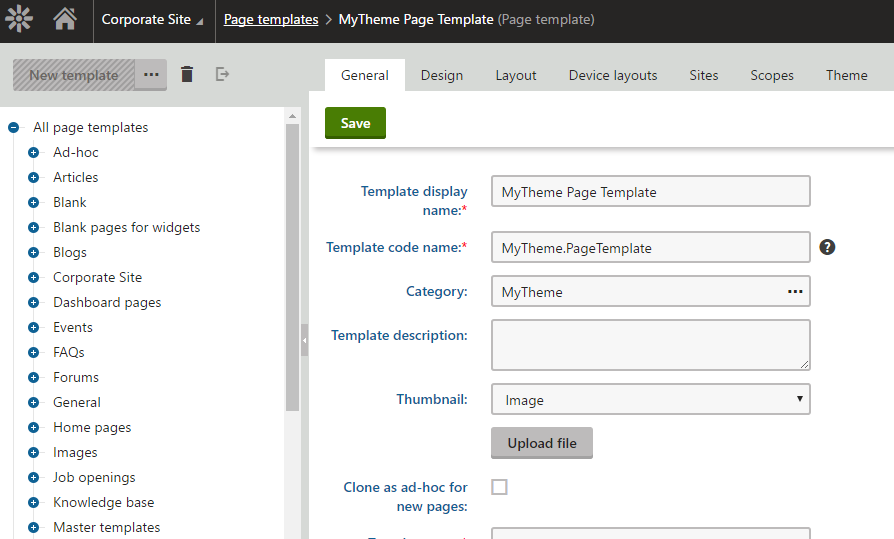
- Make sure the Template type is set to Portal page;
- Check the Master template option;
-
Click Save.
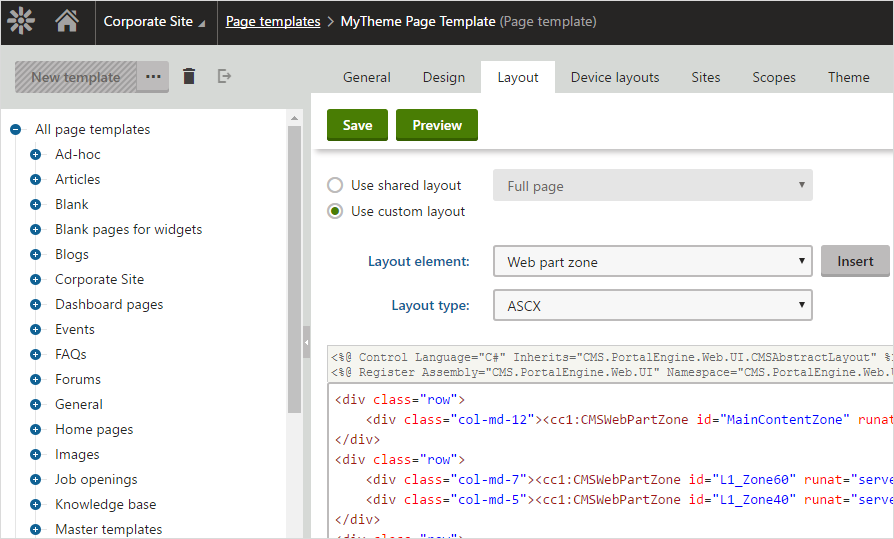
- Now switch to the Layout tab;
- Select the Use custom layout option;
- Open the PageTemplate.ascx file with Notepad++. You can find it by opening your theme's package;
-
Now copy the entire code and paste it on the code area;
-
Click Save.
Page Template added! ✅
4# Apply the Master Page and Page Template
Now that you're done adding the master pages and page template the only thing left to do is applying them to your website.
1# APPLY THE MASTER PAGE
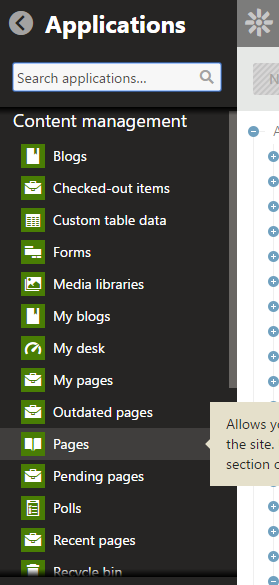
- Open the Applications list;
-
Click on Pages;
-
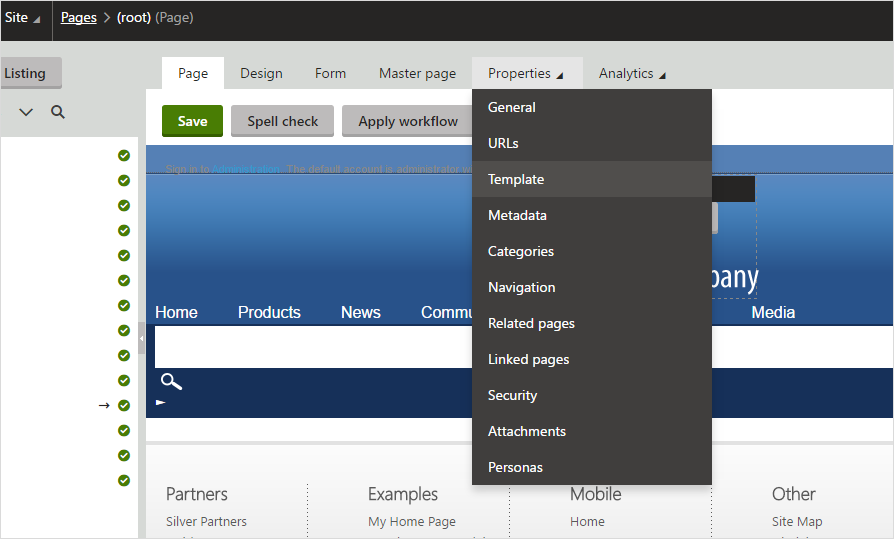
With your site selected on the Pages list, click on Properties and click on Template;
You can apply the master page to a single page. Just select the page from the page list instead.
-
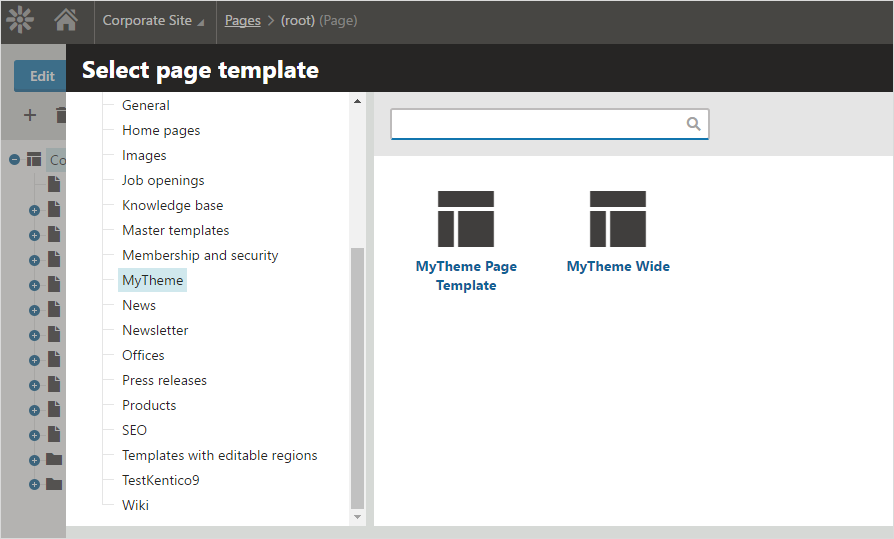
With the option Use own page template selected, click on Select;
- On the templates list, click on the template you created with your theme name;
-
Select the master page you added previously. Example: MyTheme Wide;
-
Click Select and then click Save;
2# APPLY THE PAGE TEMPLATE
- Open the Applications list;
- Click on Pages;
-
With your site selected on the pages list, click on Properties and click on Template;
You can apply the master page to a single page. Just select the page from the page list instead.
-
With the option Use own page template selected, click on Select;
- On the templates list, click on the template you created with your theme name;
-
Select the master page you added previously. Example: MyTheme PageTemplate;
-
Click Select and then click Save;
Installation done! With BindTuning themes, you also have access to demo content files, which can be directly imported into your Kentico website. If you want to go ahead and import the demo content, click on the link below.